Podcast: Play in new window | Download
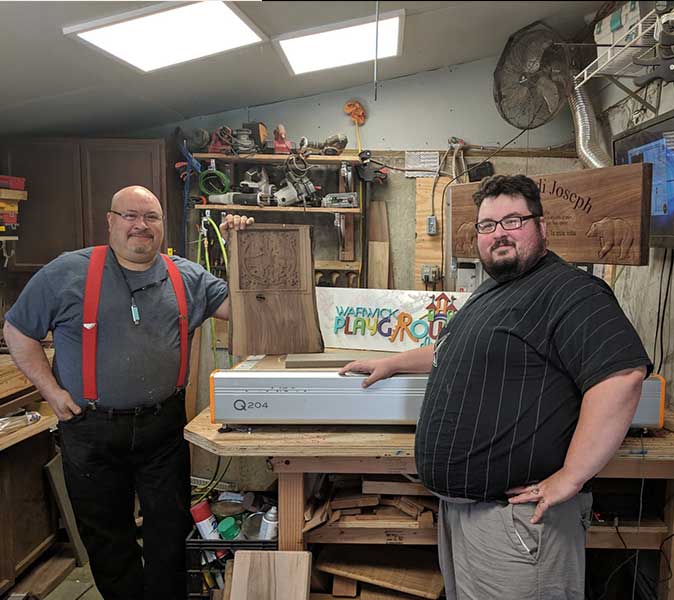
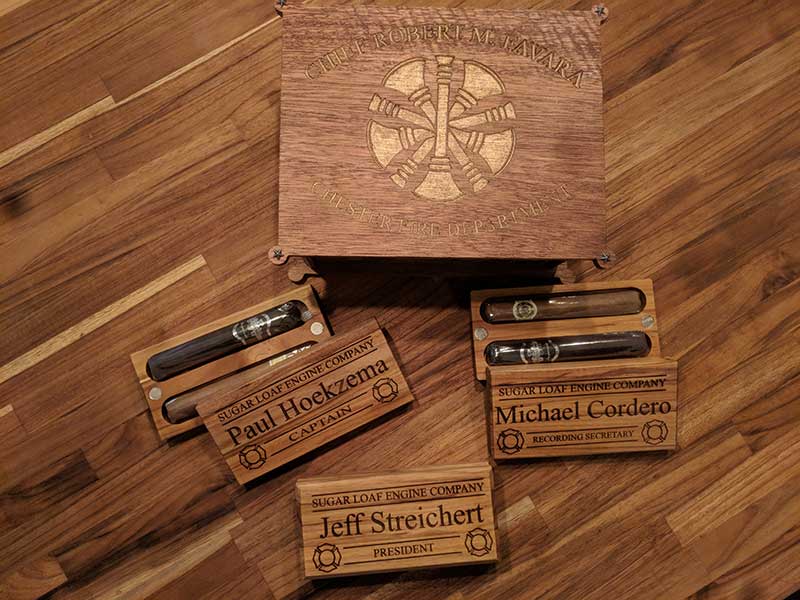
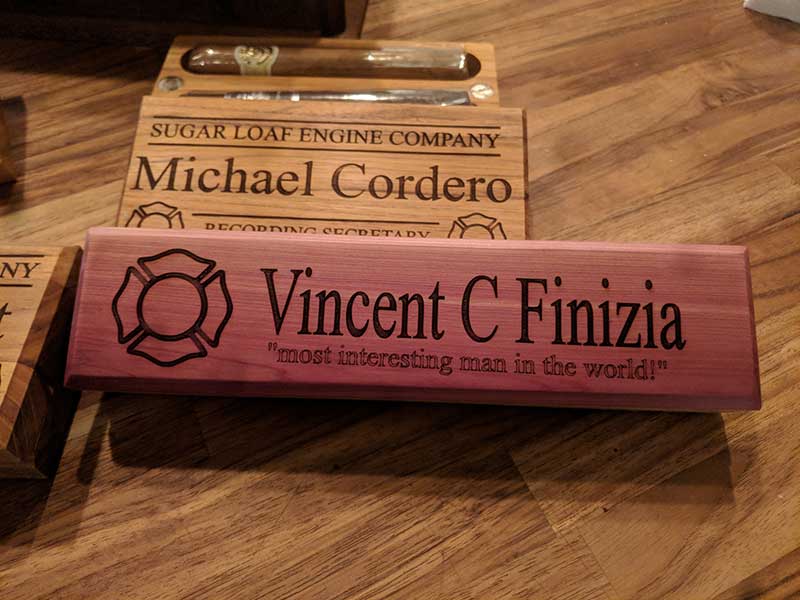
The one thing I really love about this business is when we get to meet a customer and over time watch them start and expand a business that is centered around our product. Tony Donato and his son Anthony are a perfect example of this. When they got their first-ever CNC from us over 3 years ago, we worked with them as they learned this amazing craft. They have upgraded machines and now run a STEPCRAFT Q.204 and D.600 CNC machines. The work they turn out never ceases to amaze us.
Last summer they began FM Designs. (I will not tell you what “FM” stands for as you will have to listen to the podcast for that). This is a business that they both work on full time and the amount of products that they produce is incredible. Not only because of the volume, but because of the quality and creativity that they put into each piece they create.
In this episode we talk about their journey from the beginning through today and where they see their business going in the future. We talk about some of the hurdles and challenges as well as some solutions that they have achieved.
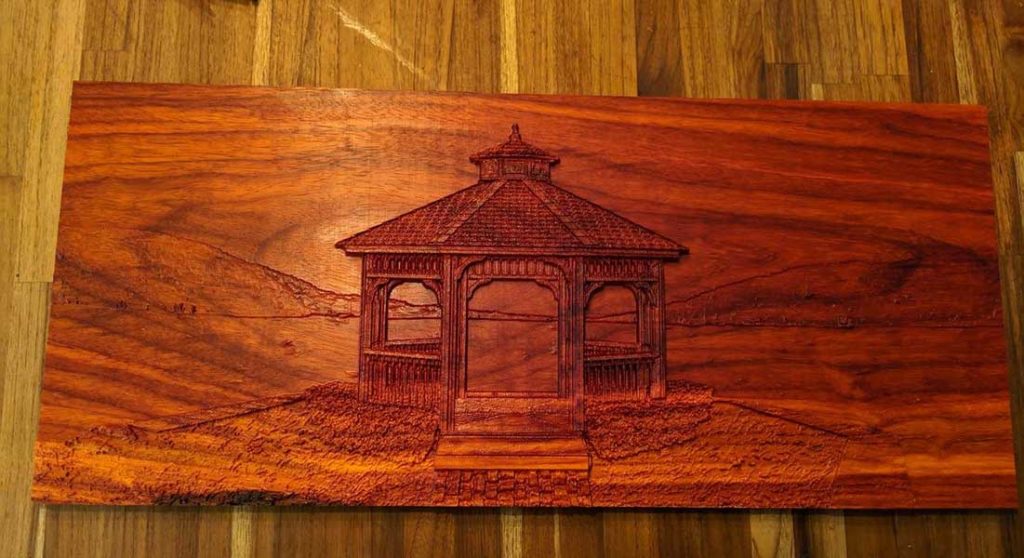
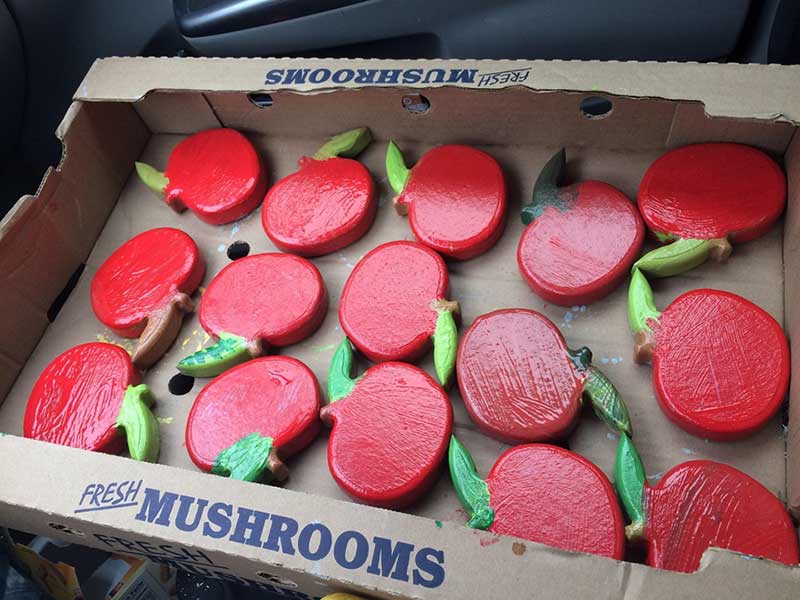
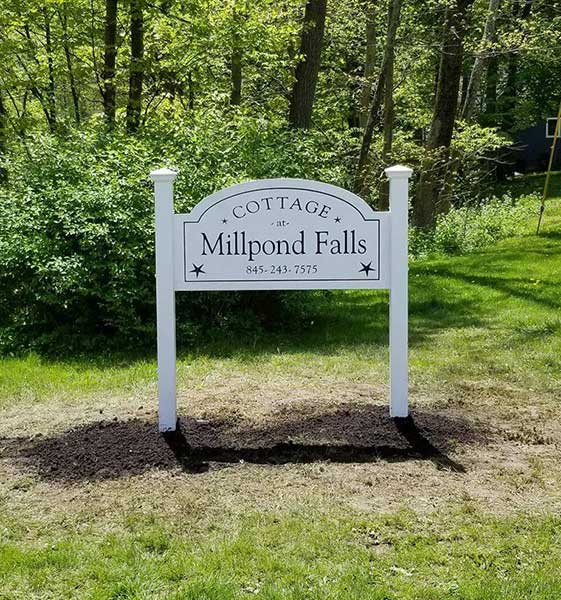
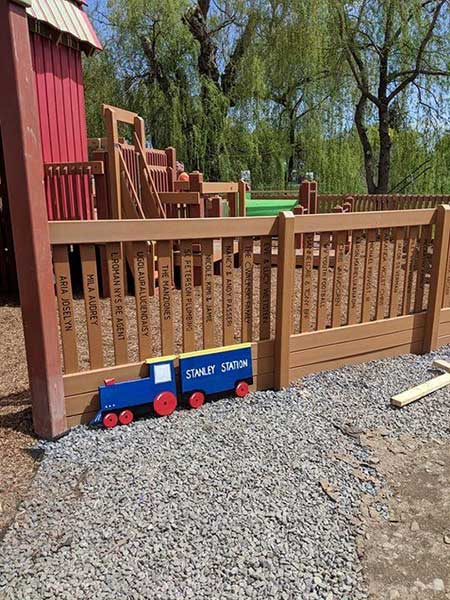
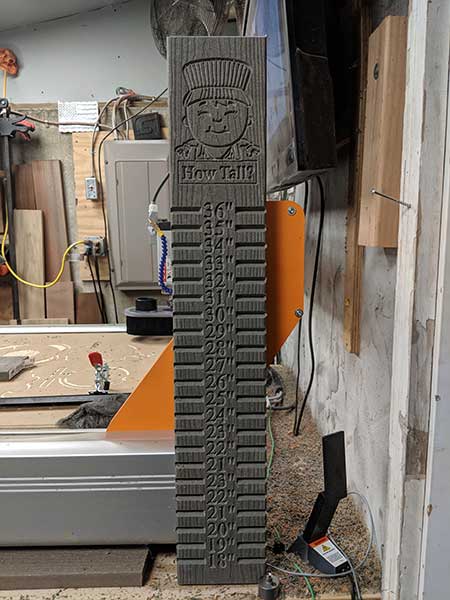
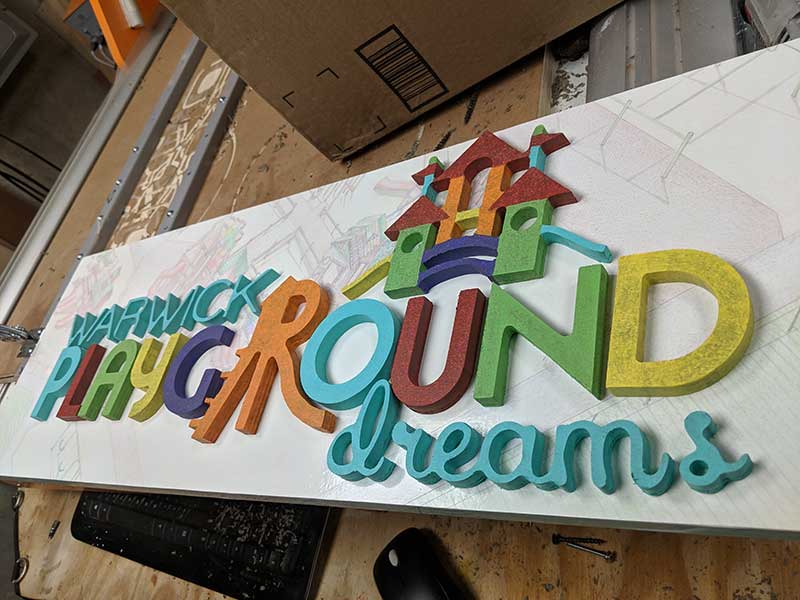
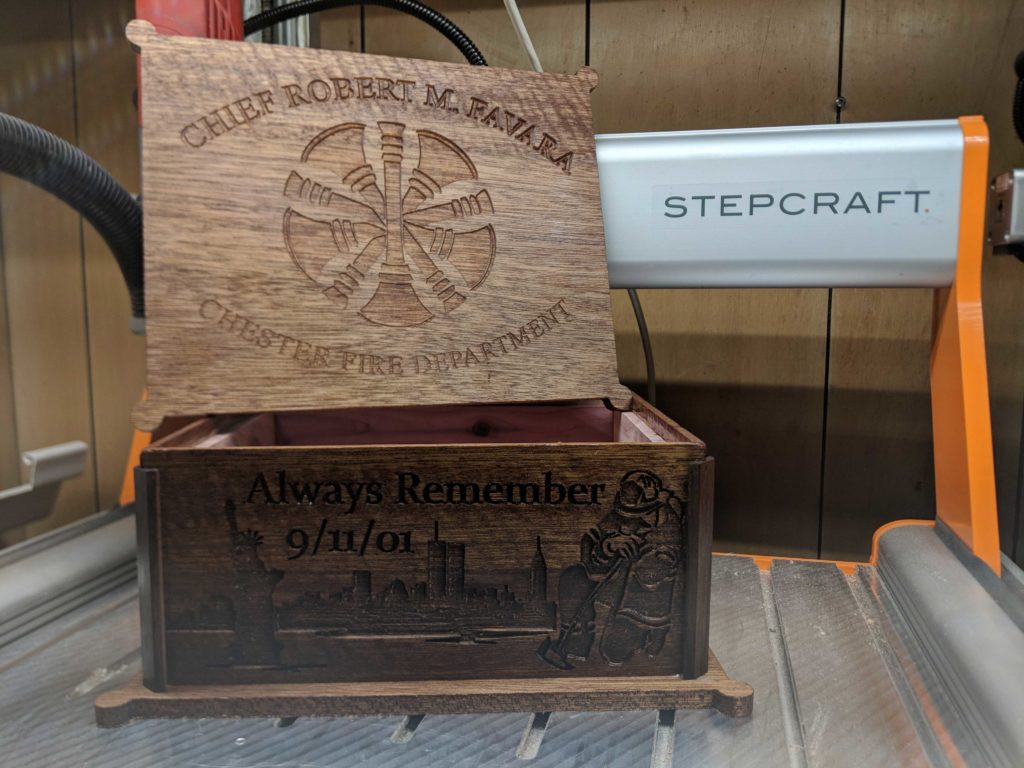
Projects Photos From FM Designs
Tips From This Episode:
STEPCRAFT 3D Touch Probe
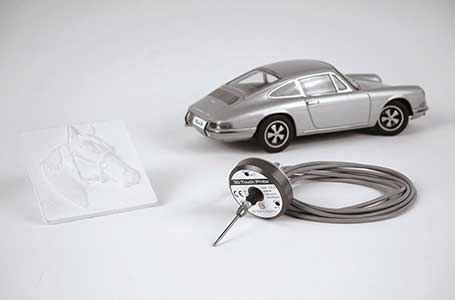
We discussed the STEPCRAFT 3D Touch Probe and how it can be used to not only location positions on a part, but it can be used to 3D scan objects so you can duplicate them on your CNC. This is a device that will work with any CNC system. More Info
STEPCRAFT Engraving Point
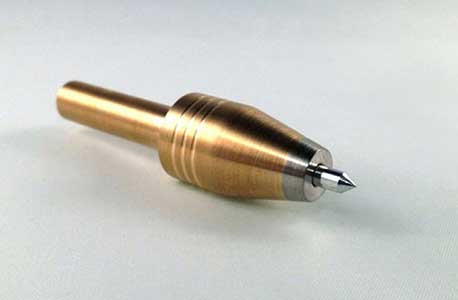
The STEPCRAFT Engraving Point is used to scratch engrave, or etch, designs into materials. Common applications are edge-lit acrylic signs and engraving into metal. The tool has an 8mm shank so it can be inserted into any spindle with an 8mm collet to quickly switch from milling to engraving on the same machine.
More Info
Multiple Roughing Passes
Sometimes a complicated carving job requires a lot of material to be roughed out before you can start actually performing the fine detailed finish 3D carving. It’s common to use as large diameter tool as you can to reduce the speed, but that will also mean there is more material left for the finish ball nose end mill to remove, which can add unnecessary stress to the tool. So a solution is to run more than one roughing operation. Start with a large end mill and then go to 1/4″ or even 1/8″ and then you can machine with the ballnose mill. This is also commonly known as “rest machining” and many CAM programs have the ability to create tool path operations for this.
Links From This Episode:
FM Designs – www.fmdesigns.us
FM Designs Facebook – https://www.facebook.com/FM-Designs
Vectric – www.vectric.com
STEPCRAFT – www.stepcraft.us
G-Wizard Software – Order From Stepcraft
Vector Magic – www.vectormagic.com

